Articles

How to Paint a Bathroom Ceiling to Prevent Mould

30/04/2026
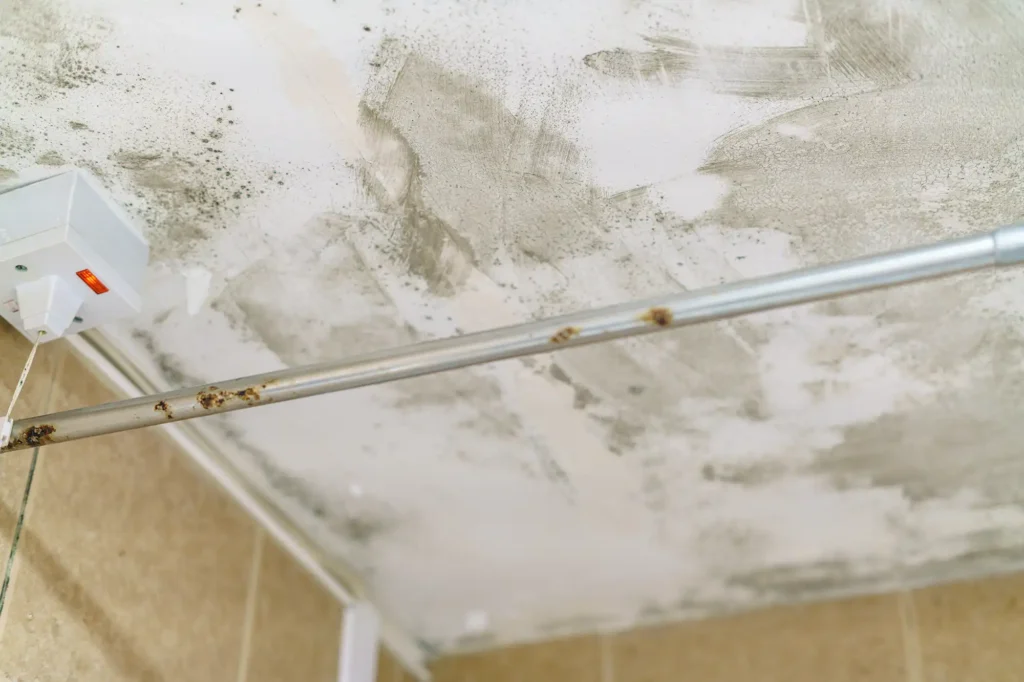
Bathroom ceiling mould is one of the most frustrating problems for homeowners, renters and renovators. You clean it, it comes back. You paint over it, it comes back again. Over time, the ceiling can start to look stained, patchy and tired, even when the rest of the bathroom is well maintained.

The issue is usually not just the mould itself. It is the combination of moisture, steam, poor airflow, surface contamination and the wrong coating system. Bathrooms create harsh conditions for ceilings. Hot showers produce condensation, ceiling surfaces stay damp, and if the paint film is not designed for moisture-prone areas, mould and mildew can return quickly.

The good news is that a better result is possible when you follow the right process: clean and treat the mould, repair the surface, prepare for adhesion, then apply a suitable anti-mould ceiling paint.

This guide explains how to paint a bathroom ceiling to help prevent mould, what to do before you paint, and why choosing a purpose-built product like Wattyl I.D Advanced Ceiling Anti-mould can make a meaningful difference in wet areas.

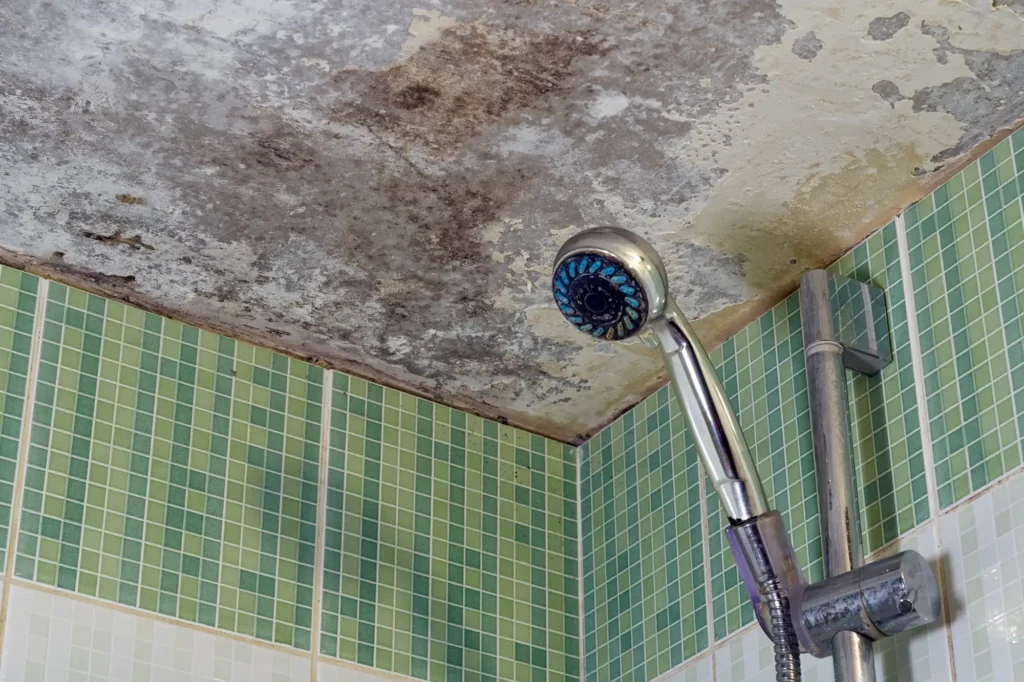
a mouldy bathroom ceiling

Why Bathroom Ceilings Get Mouldy

Bathroom ceilings are exposed to conditions that make mould more likely than in other rooms of the home. Every shower, bath or hot water cycle releases moisture into the air. When that warm, damp air rises and hits a cooler ceiling, condensation can form.

If the room has poor ventilation, that moisture stays trapped for longer. Over time, repeated dampness can create the right environment for mould and mildew growth.

Common causes of mould on bathroom ceilings include:

  • Poor ventilation or no working exhaust fan
  • Short fan run-times after showers
  • Windows that are rarely opened
  • Steam build-up in small bathrooms
  • Existing paint that is porous, chalky or failing
  • Previous mould that was painted over instead of treated
  • Water leaks above the ceiling
  • Gaps, cracks or peeling paint that allow moisture to sit in the surface

Once mould spores are present, they can return if the surface stays damp or contaminated. That is why simply painting over visible mould is not enough. The surface needs to be cleaned, allowed to dry and coated with a paint system suitable for wet area ceilings.

A ceiling paint with mould resistant properties can help reduce the likelihood of mould growth on the paint film, but it works best when combined with good surface preparation and better ventilation habits.

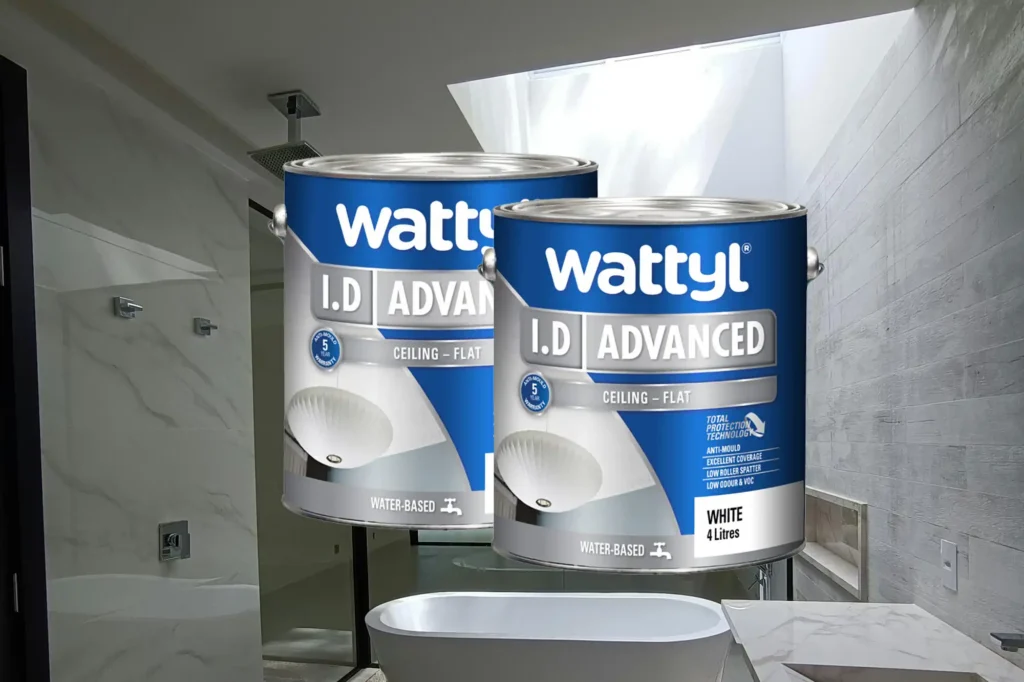
Wattyl I.D Advanced Ceiling Anti-mould

Anti-Mould Paint vs Regular Ceiling Paint

Not all ceiling paints are designed for bathrooms. A standard ceiling flat may be suitable for bedrooms, hallways and living spaces, but wet areas need more consideration. An anti-mould ceiling paint is designed to help resist mould and mildew growth on the painted surface. It is not a shortcut for fixing leaks, removing active mould or improving ventilation, but it can form part of a better long-term prevention strategy.

What anti-mould ceiling paint does

A good anti-mould ceiling paint helps protect the paint film in moisture-prone areas. This is useful in bathrooms, laundries and other rooms where humidity is higher than normal.

For example, Wattyl I.D Advanced Ceiling Anti-mould is positioned as a high-performance, ultra-premium ceiling paint with mould resistance, low roller spatter, low odour, low VOC and excellent coverage.

Why a flat finish still matters

Ceilings are usually painted in a flat finish because flat paints help reduce light reflection and hide minor surface imperfections. In bathrooms, you still want that smooth ceiling look, but you also need moisture-aware performance. A flat anti-mould ceiling paint gives you the ceiling-friendly appearance you want while adding mould-resistant benefits.

Why low odour and low VOC matter

Bathrooms are enclosed spaces. Many are small, and some have limited airflow. Choosing a low odour, low VOC paint can make the painting process more comfortable, especially in occupied homes where people need to use the space soon after painting.
a mouldy bathroom ceiling

Before You Paint: Safety and Surface Assessment

Before you start painting, assess the ceiling properly. A mouldy bathroom ceiling can be a simple surface coating issue, but it can also be a sign of a deeper moisture problem.

Wear protective equipment

When cleaning mould or sanding old paint, use suitable personal protective equipment. This may include:

  • Gloves
  • Eye protection
  • A suitable mask or respirator
  • Long sleeves
  • Drop sheets
  • Good ventilation

Open windows where possible and run the exhaust fan while cleaning and drying the room.

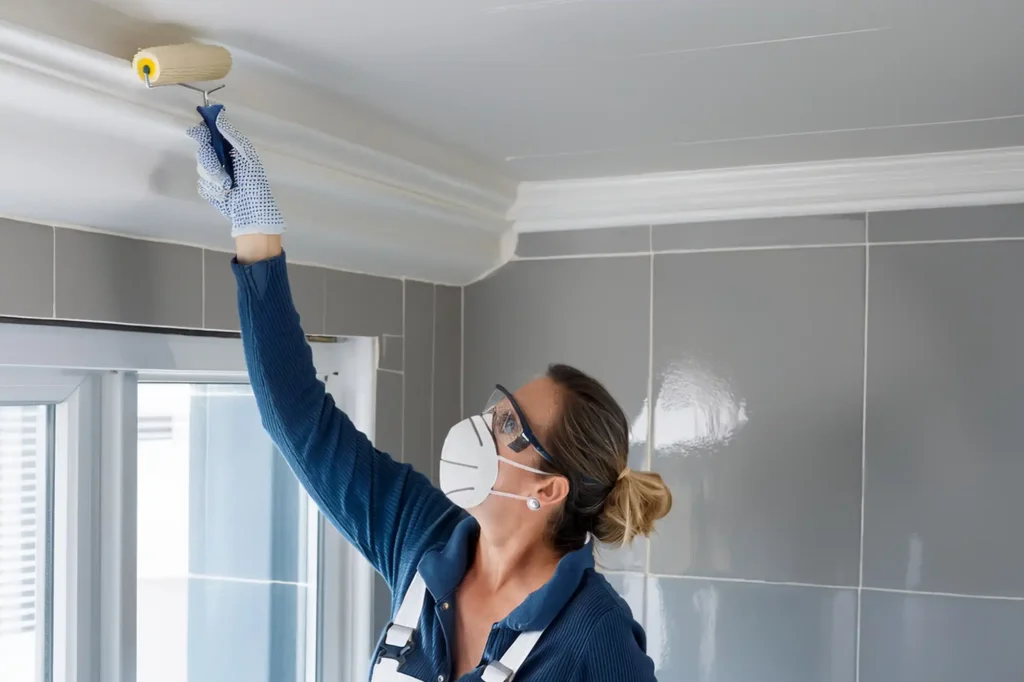
painting a bathroom ceiling

Check whether the ceiling can be painted

A ceiling can usually be repainted if the surface is sound, dry and structurally intact. But painting should be delayed if you notice:

  • Soft or sagging plasterboard
  • Bubbling caused by water leaks
  • Large areas of flaking paint
  • Persistent dampness
  • Brown water stains that keep reappearing
  • Mould growth spreading beyond the surface

If there is an active leak, plumbing issue or roof problem, fix that first. Paint cannot solve moisture coming from behind or above the ceiling.

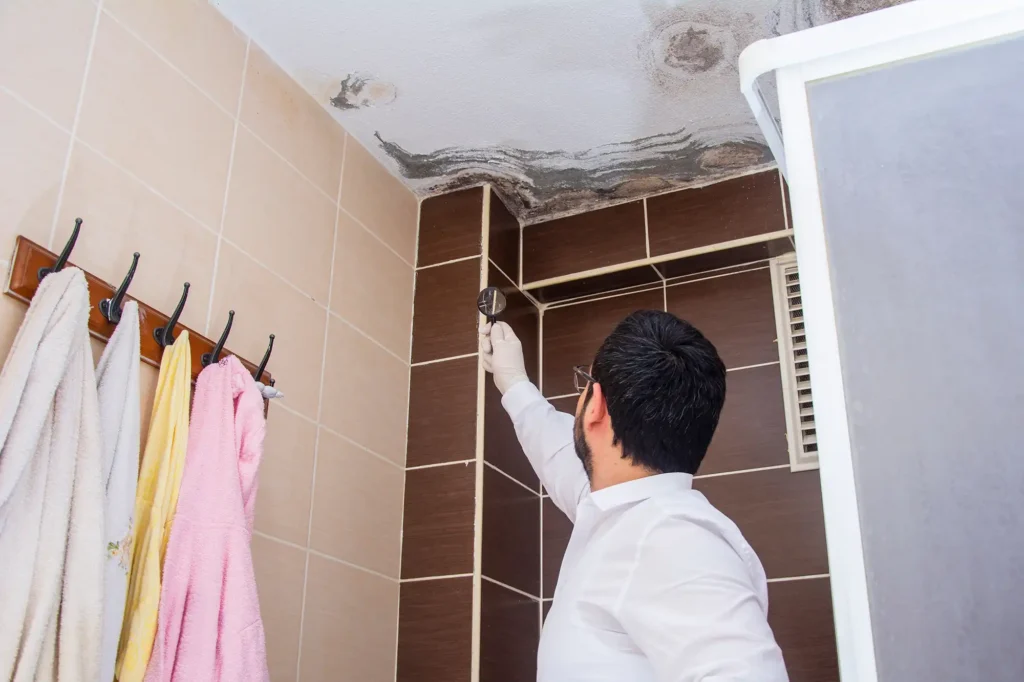
inspecting a mouldy ceiling

Know when to call a professional

If the mould covers a large area, keeps returning quickly, has spread into plasterboard, or is linked to a leak, it may be best to contact a professional mould remediation specialist or licensed tradesperson. Painting should only happen once the underlying cause is resolved.

Step 1, Clean and Treat Existing Mould Properly

The biggest mistake people make is painting directly over mould. It may look better for a short period, but the mould can return and the paint may fail prematurely.

Before applying any paint, the ceiling needs to be cleaned and treated.

Remove surface contamination

Start by removing dust, cobwebs and loose surface grime. Use a soft broom, vacuum attachment or dry cloth. This gives you a clearer view of the ceiling condition and helps prevent dirt from mixing into your cleaning solution.

Clean the mould-affected area

Use a suitable mould cleaning product and follow the label instructions carefully. Avoid mixing cleaning chemicals, especially bleach-based products with ammonia or other cleaners.

Work in sections and avoid over-saturating the ceiling. The aim is to treat the surface, not soak the plasterboard.

Pay attention to corners, areas above the shower, and edges near exhaust fans where condensation often collects.

Let the ceiling dry completely

This step matters. Paint should not be applied over a damp ceiling. Moisture trapped under the coating can affect adhesion, cause bubbling and create conditions where mould can return.

After cleaning, allow the ceiling to dry thoroughly. Use ventilation, open windows and run fans if needed. If the room still feels humid or the ceiling feels cool and damp, wait longer.

Do not rely on paint to kill active mould

Anti-mould paint is preventative. It is designed to help resist mould growth on the finished paint film. It should not be used as a substitute for cleaning and treating existing mould properly.

The correct order is:

  1. Identify and fix moisture issues
  2. Clean and treat mould
  3. Let the surface dry
  4. Repair and prepare the ceiling
  5. Prime if required
  6. Apply the anti-mould ceiling paint
prep for painting a ceiling

Step 2, Prep for Adhesion and Finish Quality

Once the ceiling is clean and dry, prepare it for painting. Good prep improves adhesion, coverage and the final appearance.

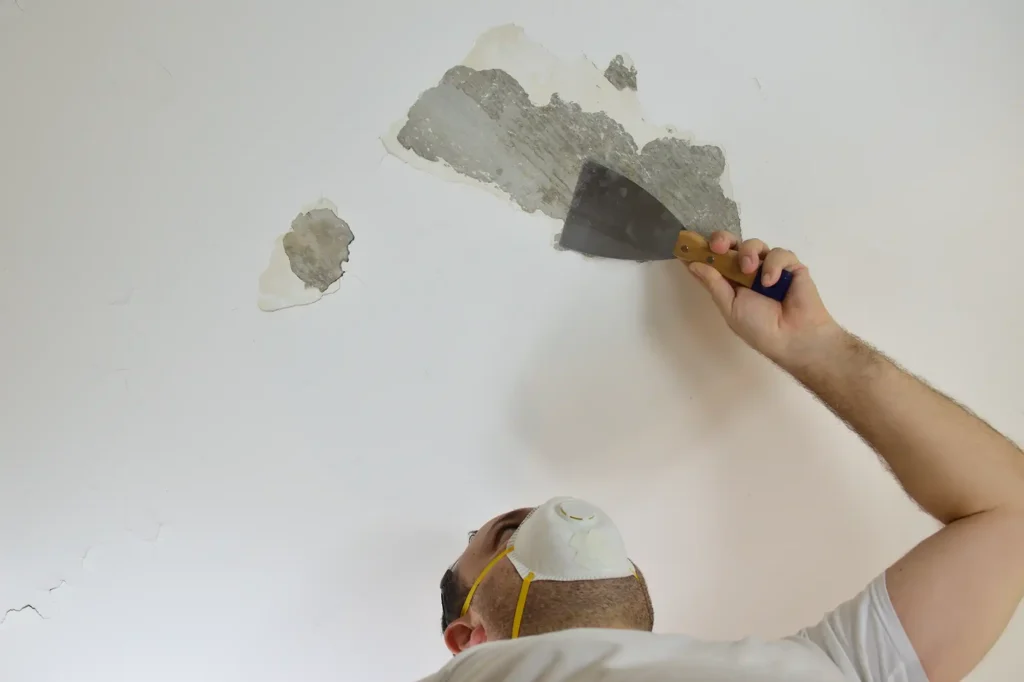
Scrape loose or flaking paint

Use a scraper to remove loose, peeling or bubbling paint. Do not paint over edges that are already lifting. If the old coating is failing, the new coating can fail with it.

After scraping, sand the edges smooth so the repaired areas blend into the surrounding ceiling.

Sand rough patches

Lightly sand rough areas, previous roller marks, old patching compound or uneven edges. Use a suitable sanding pad or pole sander for larger ceilings.

The goal is not to over-sand. The aim is to create a smooth, even surface for the new coating.

Patch imperfections

Fill cracks, dents or small holes with an appropriate interior filler. Allow it to dry, then sand smooth. Remove all sanding dust before painting.

Dust left on the ceiling can interfere with adhesion and create a gritty finish.

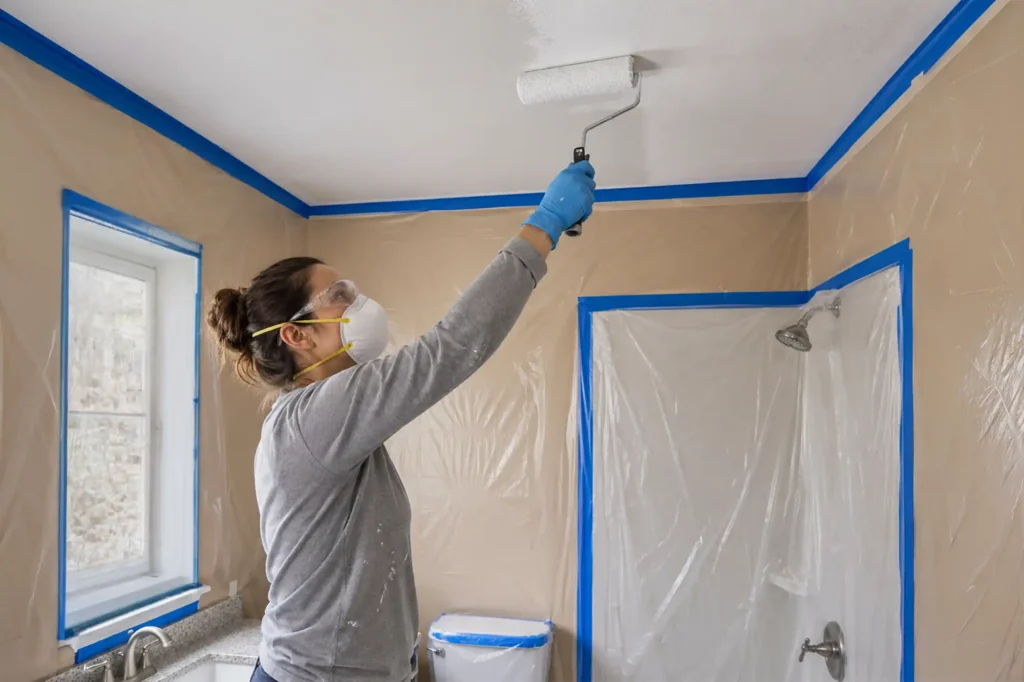
Mask and protect the room

Use painter’s tape around cornices, wall edges, light fittings, exhaust fan covers and tiles. Cover the vanity, bath, toilet and floor with drop sheets.

Bathrooms are compact spaces, so it is easy to bump surfaces with a roller or brush. Proper masking saves time and gives a cleaner result.

painting a bathroom ceiling

Step 3, Choose the Right Ceiling Paint for Wet Areas

Choosing the right paint is critical. Bathroom ceilings need a product that can handle moisture-prone conditions while still delivering a clean, flat ceiling finish.

What to look for in bathroom ceiling paint

When comparing options, look for:

  • Mould and mildew resistance
  • Interior suitability
  • Flat finish for ceilings
  • Excellent coverage
  • Low roller spatter
  • Low odour
  • Low VOC
  • Smooth application
  • Compatibility with the existing surface and primer system

A general wall paint may not be the best choice for a bathroom ceiling. Walls and ceilings have different visual and performance requirements. A ceiling-specific flat finish is usually preferred for overhead areas because it helps minimise visible imperfections.

Where Wattyl Anti-Mould Ceiling Flat fits

Wattyl I.D Advanced Ceiling Anti-mould is designed as a mould resistant ceiling paint with a flat finish. It is also listed with low roller spatter, low odour, low VOC and excellent coverage, making it a strong fit for bathroom ceiling repaint projects.

For broader product selection, you can also explore the Wattyl product range or use the Wattyl Product Finder to identify suitable coatings for your project.

Wattyl I.D Advanced Ceiling Anti-mould

Step 4, Application Method for a Professional Flat Finish

A good bathroom ceiling finish depends on technique as much as product choice. Ceilings can show lap marks, roller lines and flashing if the paint is applied unevenly.

Tools you may need

Prepare the following:

  • Drop sheets
  • Painter’s tape
  • Mould cleaner
  • Scraper
  • Sanding pad or pole sander
  • Interior filler
  • Dusting brush or vacuum
  • Cutting-in brush
  • Roller frame
  • Extension pole
  • Suitable roller sleeve
  • Paint tray
  • Anti-mould ceiling paint

A roller with the right nap helps achieve an even ceiling finish. Very smooth ceilings usually need a shorter nap, while more textured ceilings may require a slightly longer nap.

Cut in first

Start by cutting in around ceiling edges, cornices, exhaust fans and light fittings. Use a brush and work carefully around tight areas.

Do not cut in the entire room too far ahead if the paint will dry before rolling. For best results, keep a wet edge so the brushed and rolled sections blend together.

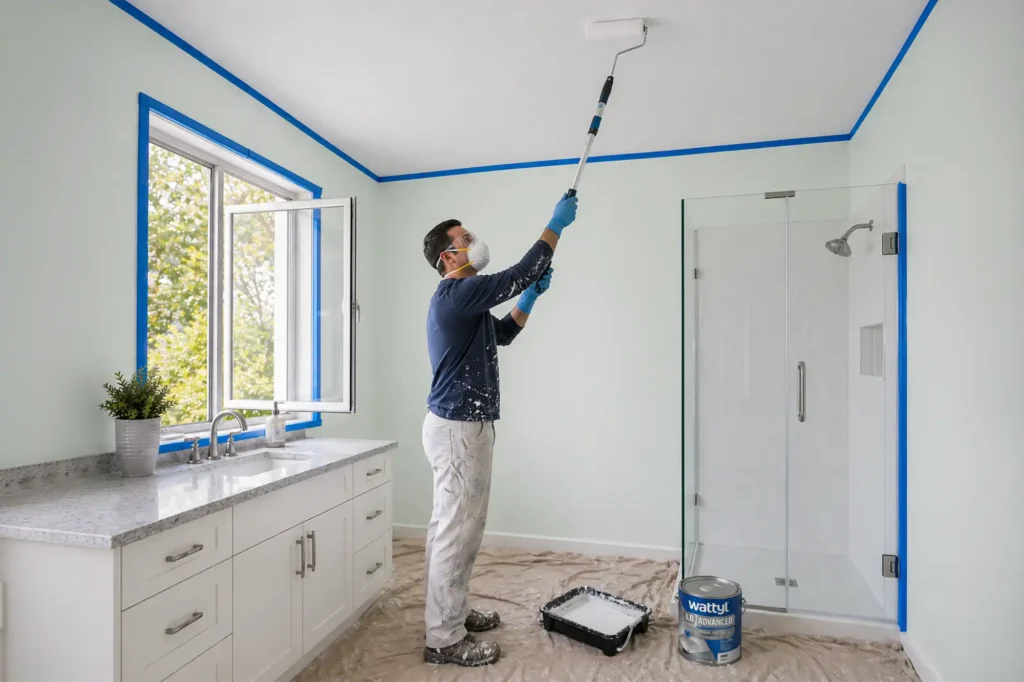
Roll in controlled sections

Load the roller evenly, then roll the ceiling in manageable sections. Avoid pressing too hard, as pressure can create roller lines and uneven film build.

Use consistent strokes and slightly overlap each pass. Work from one side of the room to the other, keeping the edge wet as you go.

Avoid lap marks and flashing

Lap marks happen when wet paint overlaps paint that has already started to dry. Flashing can occur when the surface absorbs paint unevenly or when different sections are applied at different thicknesses.

To reduce these issues:

  • Maintain a wet edge
  • Avoid overworking drying paint
  • Apply even pressure
  • Use enough paint without overloading
  • Keep the room ventilated but avoid strong airflow directly across the ceiling
  • Follow recommended drying times between coats

Apply the right number of coats

Most repainting projects will need two coats for a consistent finish, especially where stains, patches or colour variation are present. Always follow the product instructions for coverage, drying and recoating.

If the ceiling has significant staining or repaired areas, a suitable primer or sealer may be required before applying the topcoat.

Step 5, Post-Paint Mould Prevention Plan

Even the best anti-mould ceiling paint performs better when the bathroom is managed properly after painting. Long-term mould prevention depends on reducing moisture and improving airflow.

Run the exhaust fan longer

Do not turn the fan off as soon as the shower ends. Let it run long enough to remove steam and reduce condensation. In many bathrooms, this means running it during the shower and for a period afterwards.

Open windows where possible

If your bathroom has a window, open it after showering to release trapped moisture. Even a short ventilation period can help reduce humidity.

Wipe down wet surfaces

Tiles, shower screens and mirrors hold moisture. Wiping them down helps reduce the amount of water evaporating back into the room.

Keep the exhaust fan clean

Dust build-up can reduce fan performance. Clean the fan cover regularly and check that airflow is working properly.

Watch for early signs

If you see small spots returning, act early. Clean the area before it spreads. Mould prevention is much easier than full ceiling restoration.

Troubleshooting FAQ

Why did mould come back after repainting?

Mould usually comes back because the underlying moisture issue was not resolved, the old mould was not cleaned properly, or the room still has poor ventilation. Anti-mould paint helps resist mould growth on the paint film, but it cannot fix leaks, damp plasterboard or ongoing condensation by itself.

Can I paint straight over mould stains?

No. Visible mould and surface contamination should be cleaned and treated before painting. If stains remain after cleaning, you may need a suitable stain-blocking primer before applying ceiling paint. Painting directly over stains can lead to discolouration, poor adhesion and recurring mould.

Do I need primer on bathroom ceilings?

It depends on the condition of the ceiling. If the surface is bare plasterboard, patched, stained, chalky, porous or previously affected by moisture, a suitable primer or sealer may be required. If the existing paint is sound, clean and compatible, you may be able to repaint directly with the chosen ceiling paint. Always check the product instructions.

Is flat or satin better for bathroom ceilings?

Flat finishes are commonly preferred for ceilings because they help hide imperfections and reduce glare. In bathrooms, the key is choosing a flat ceiling paint designed for moisture-prone environments, such as an anti-mould ceiling paint. Satin may be more washable, but it can highlight ceiling imperfections and reflect more light.

How often should I repaint a bathroom ceiling?

There is no single timeline. A well-prepared bathroom ceiling with the right paint and good ventilation should last longer than one painted over mould or exposed to constant condensation. Repaint when the surface shows staining, peeling, mould recurrence, or general wear that cleaning can no longer resolve.

What is the best paint for bathroom ceiling mould prevention?

Look for a ceiling-specific paint with mould and mildew resistance, a flat finish, strong coverage, low odour and low VOC. Wattyl I.D Advanced Ceiling Anti-mould is a suitable option for homeowners wanting a mould resistant flat ceiling paint for interior wet area ceilings.

Final Checklist Before You Paint

Before painting your bathroom ceiling, make sure you have completed these steps:

  • Identify and fix leaks or ventilation issues
  • Clean and treat existing mould
  • Let the ceiling dry completely
  • Scrape flaking or peeling paint
  • Sand rough edges and patch imperfections
  • Remove all dust
  • Mask edges, fittings and fixtures
  • Prime stained, bare or repaired areas if required
  • Choose a mould resistant ceiling paint
  • Apply thin, even coats
  • Maintain ventilation after painting

For a premium bathroom ceiling finish, explore Wattyl I.D Advanced Ceiling Anti-mould or browse the full Wattyl product range to find the right paint for your next project.

Articles you may also like

News 13/03/2026
Shona McElroy - Mirrorball

A fairly dark, space-challenged penthouse in a 1920s Spanish Mission ...

right arrow

We are here for you, ask us anything

Leave your enquiry and details below, and we’ll get back to you as soon as possible.