Articles

Can you sand a Deck? What to Avoid When Sanding and Staining a Deck

03/12/2024

Staining a deck is a vital part of maintaining its beauty, durability, and functionality. But mistakes during the preparation and staining process can lead to bubbling, cracking, or an uneven finish, which detracts from your deck’s appeal and lifespan. In this guide, we’ll highlight what not to do when sanding and staining a deck and provide tips to avoid these common pitfalls. By steering clear of these errors, you’ll achieve a professional finish that protects your deck for years to come.

Looking for the best products to prepare and protect your deck? Visit the Wattyl Forestwood range to discover high-quality solutions designed for Australian conditions

The Importance of Proper Deck Staining

A well-maintained deck doesn’t just look great—it’s also better protected against UV damage, water penetration, and mould growth. Proper staining ensures the wood stays vibrant and strong, even in harsh weather. However, to get it right, preparation and careful application are essential.

What You Need Before Starting

Before starting your deck staining project, gather the right tools and materials. Using high-quality products ensures a durable and polished finish. Consider products like the Wattyl Forestwood Deck & Timber Cleaner to prepare the wood and the Wattyl Forestwood Deck and Timber Stain for long-lasting protection.

Sanding is a crucial step in deck preparation

Sanding a Deck: The Essential First Step

Can you sand a deck? Sanding is a crucial step in deck preparation, ensuring a smooth surface that allows the stain to adhere properly and evenly. It removes old stain residues, smooths splinters, and prepares the wood for effective stain absorption.

Why Sanding Matters:

  • Improved adhesion: Removes dirt and old finishes for better bonding.
  • Even finish: Prevents rough patches and uneven staining.
  • Durability: Helps the stain penetrate deeply, offering long-lasting protection.

Tips for Effective Sanding:

  • Use a belt or orbital sander for large areas, sandpaper for corners. Can you sand a deck by hand? While possible, using powered tools ensures a more even and efficient sanding process, especially for larger decks.
  • Start with coarse-grit (60–80) sandpaper, finish with finer grit (120).
  • Always sand along the grain to avoid scratches.
  • Sweep or vacuum thoroughly after sanding to remove dust.

Common Questions:

  • Can you sand a deck? Yes, sanding is essential for stain preparation.
  • How to sand a deck? Use proper tools, follow the grain, and remove old finishes completely.

Once sanded, your deck is ready for repairs and staining.

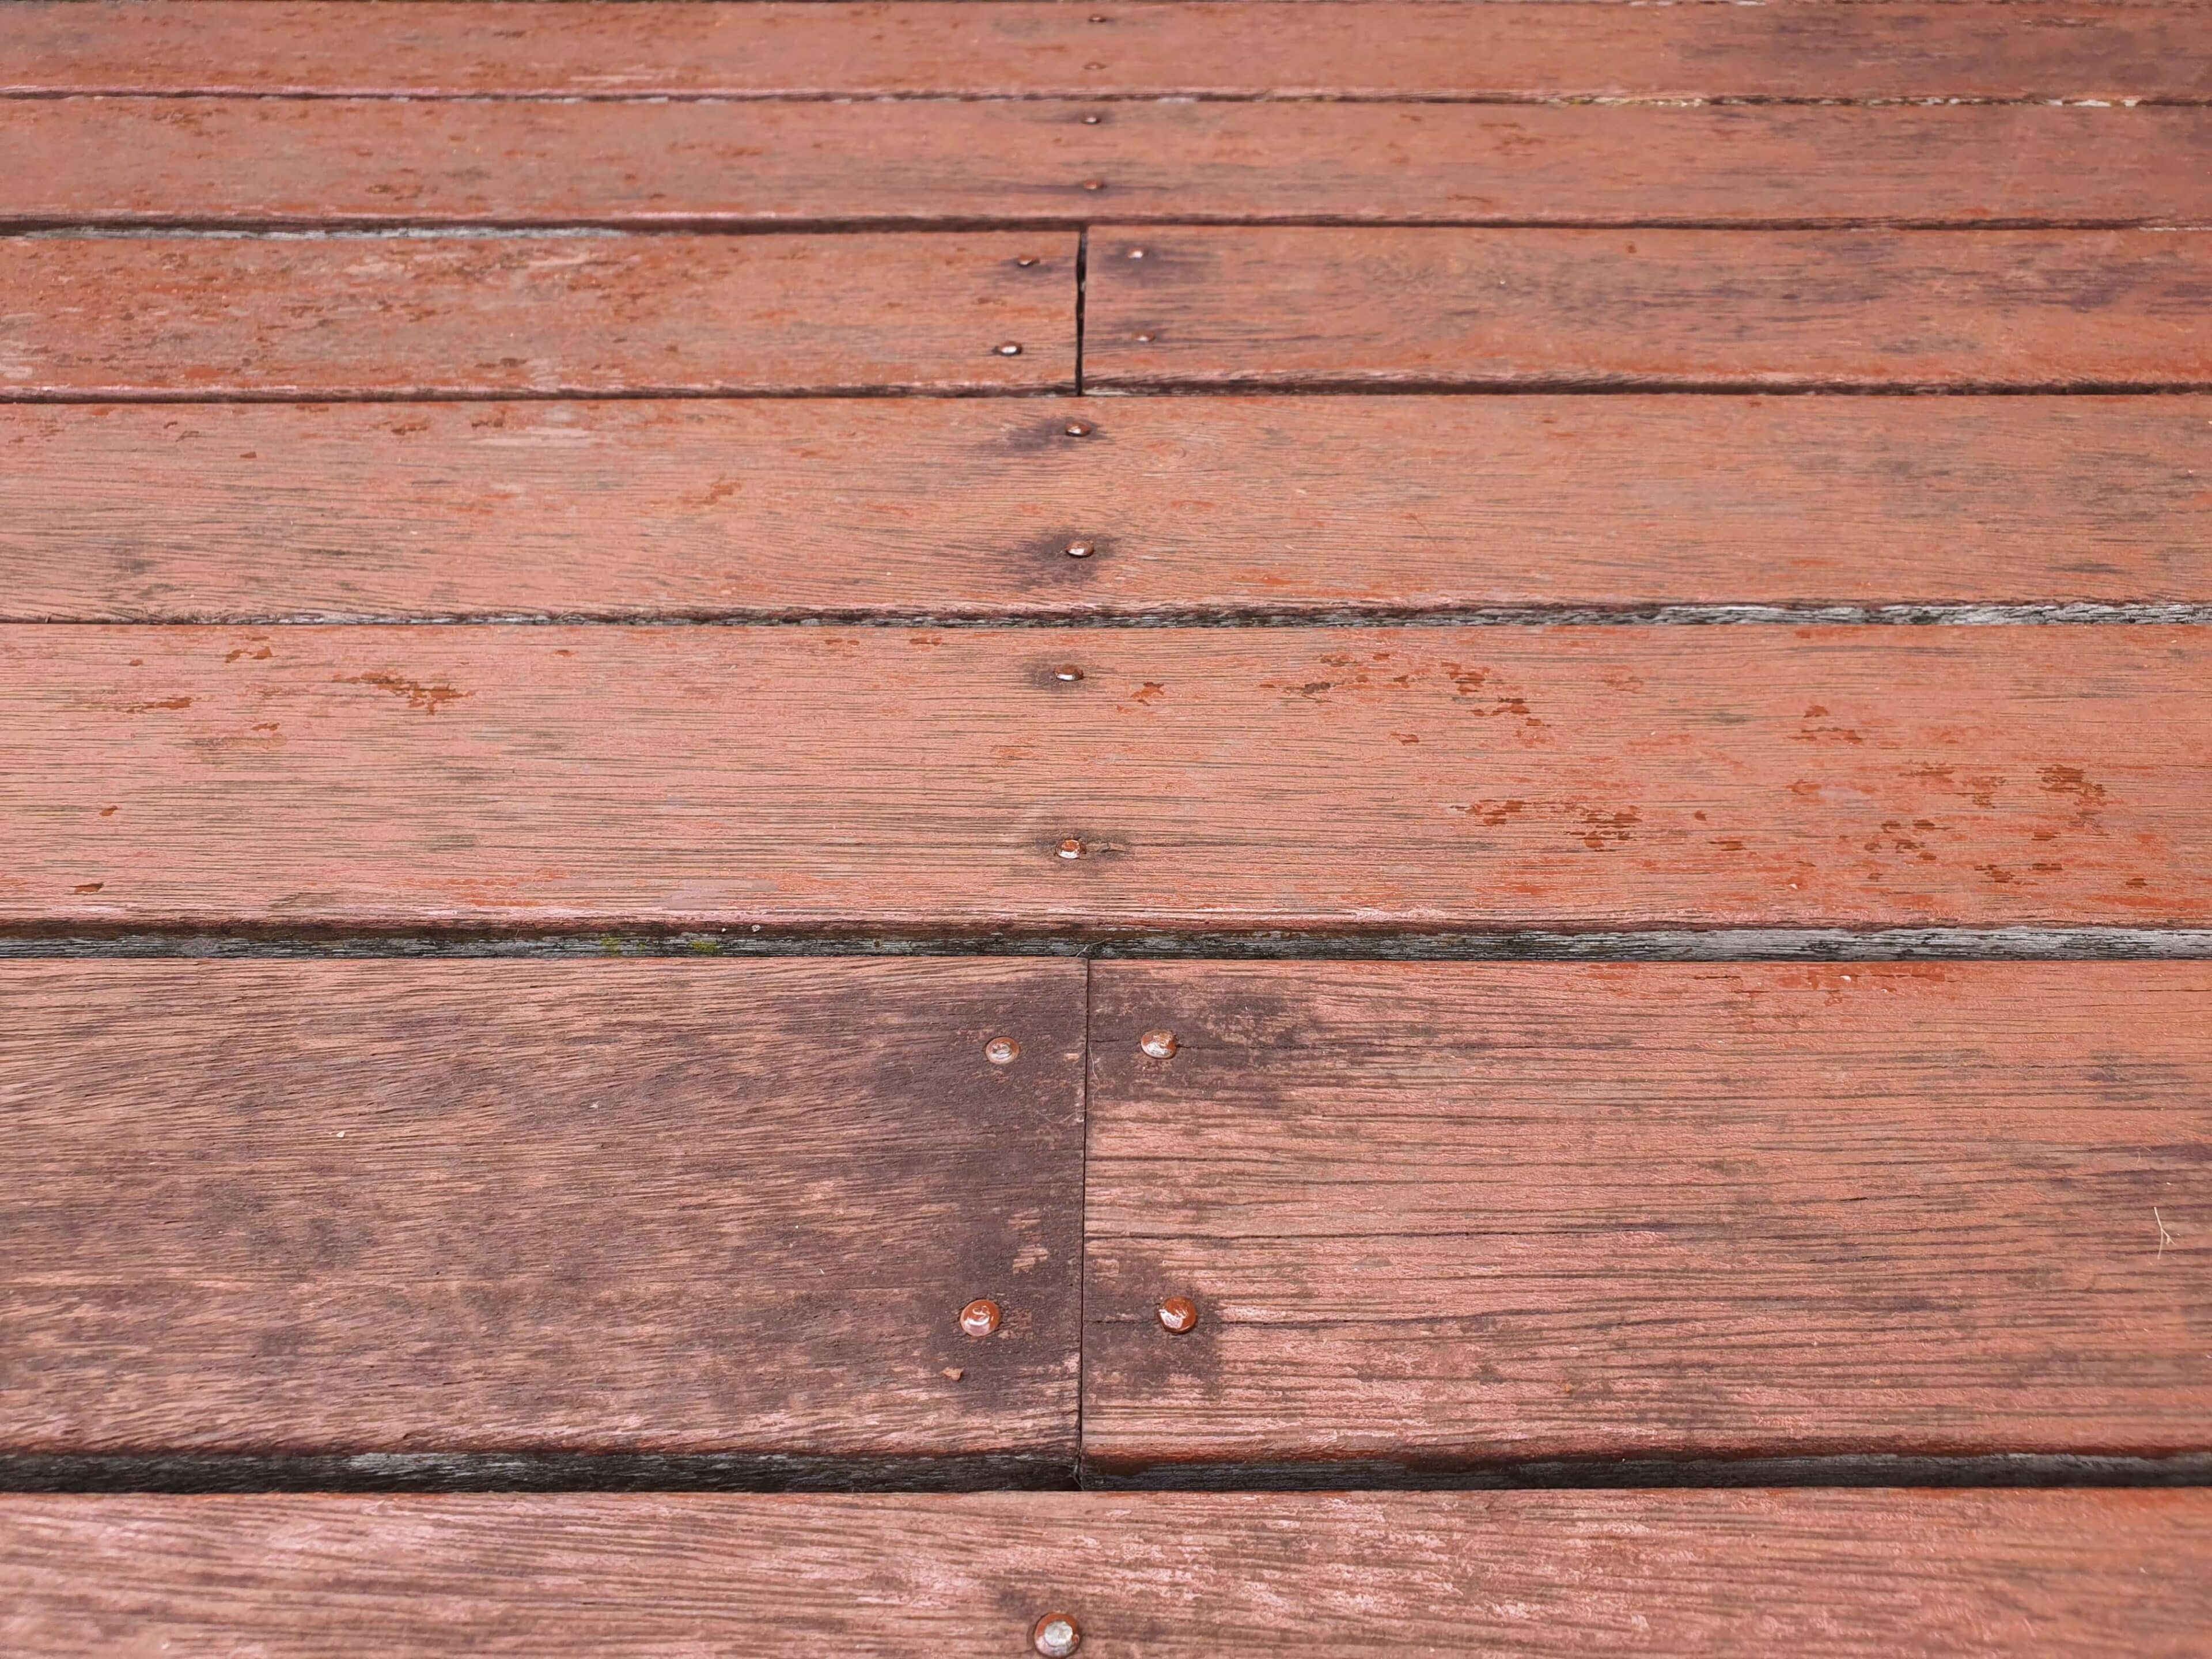
deck mould

What Repairs to Make to a Deck

Before staining, inspect your deck for damage and make necessary repairs to ensure a smooth, durable finish:

  • Cracks and splinters: Fill cracks with a wood filler and sand down splinters.
  • Loose nails or screws: Tighten or replace any protruding fasteners to avoid hazards.
  • Damaged boards: Replace warped, rotten, or severely damaged boards to maintain structural integrity.
  • Mould and water Damage: Treat affected areas with an anti-mould cleaner like Wattyl Forestwood Deck & Timber Cleaner.


Completing these repairs ensures your deck is ready for staining and maximizes the lifespan of the wood.

Not sanding the deck can result in low adhesion and a patchy finish

Common Mistakes to Avoid When Sanding and Staining

1. Not Prepping Your Deck

Issue: Skipping the prep stage is one of the most common mistakes, leading to a poor-quality finish. Dirt, debris, and old stain residues can interfere with stain adhesion.

What Not to Do: Don’t apply stain directly to a dirty or untreated deck.

What to Do Instead: Use a deck cleaner like Wattyl Forestwood Deck & Timber Cleaner to remove dirt, mould, and old finishes. Sand the deck thoroughly to create a smooth surface for staining.

2. Not Sanding or Treating the Deck Before Staining

Issue: Failing to sand or treat the deck can result in low adhesion and a patchy finish.

What Not to Do: Avoid applying stain over rough, cracked, or untreated wood.

What to Do Instead: Can you sand a deck with cracks or splinters? Absolutely! Sanding helps smooth out imperfections, preparing the wood for staining and improving its appearance. Repair cracks with a suitable deck wood crack filler and treat mould with an anti-mould decking treatment to prevent further damage.

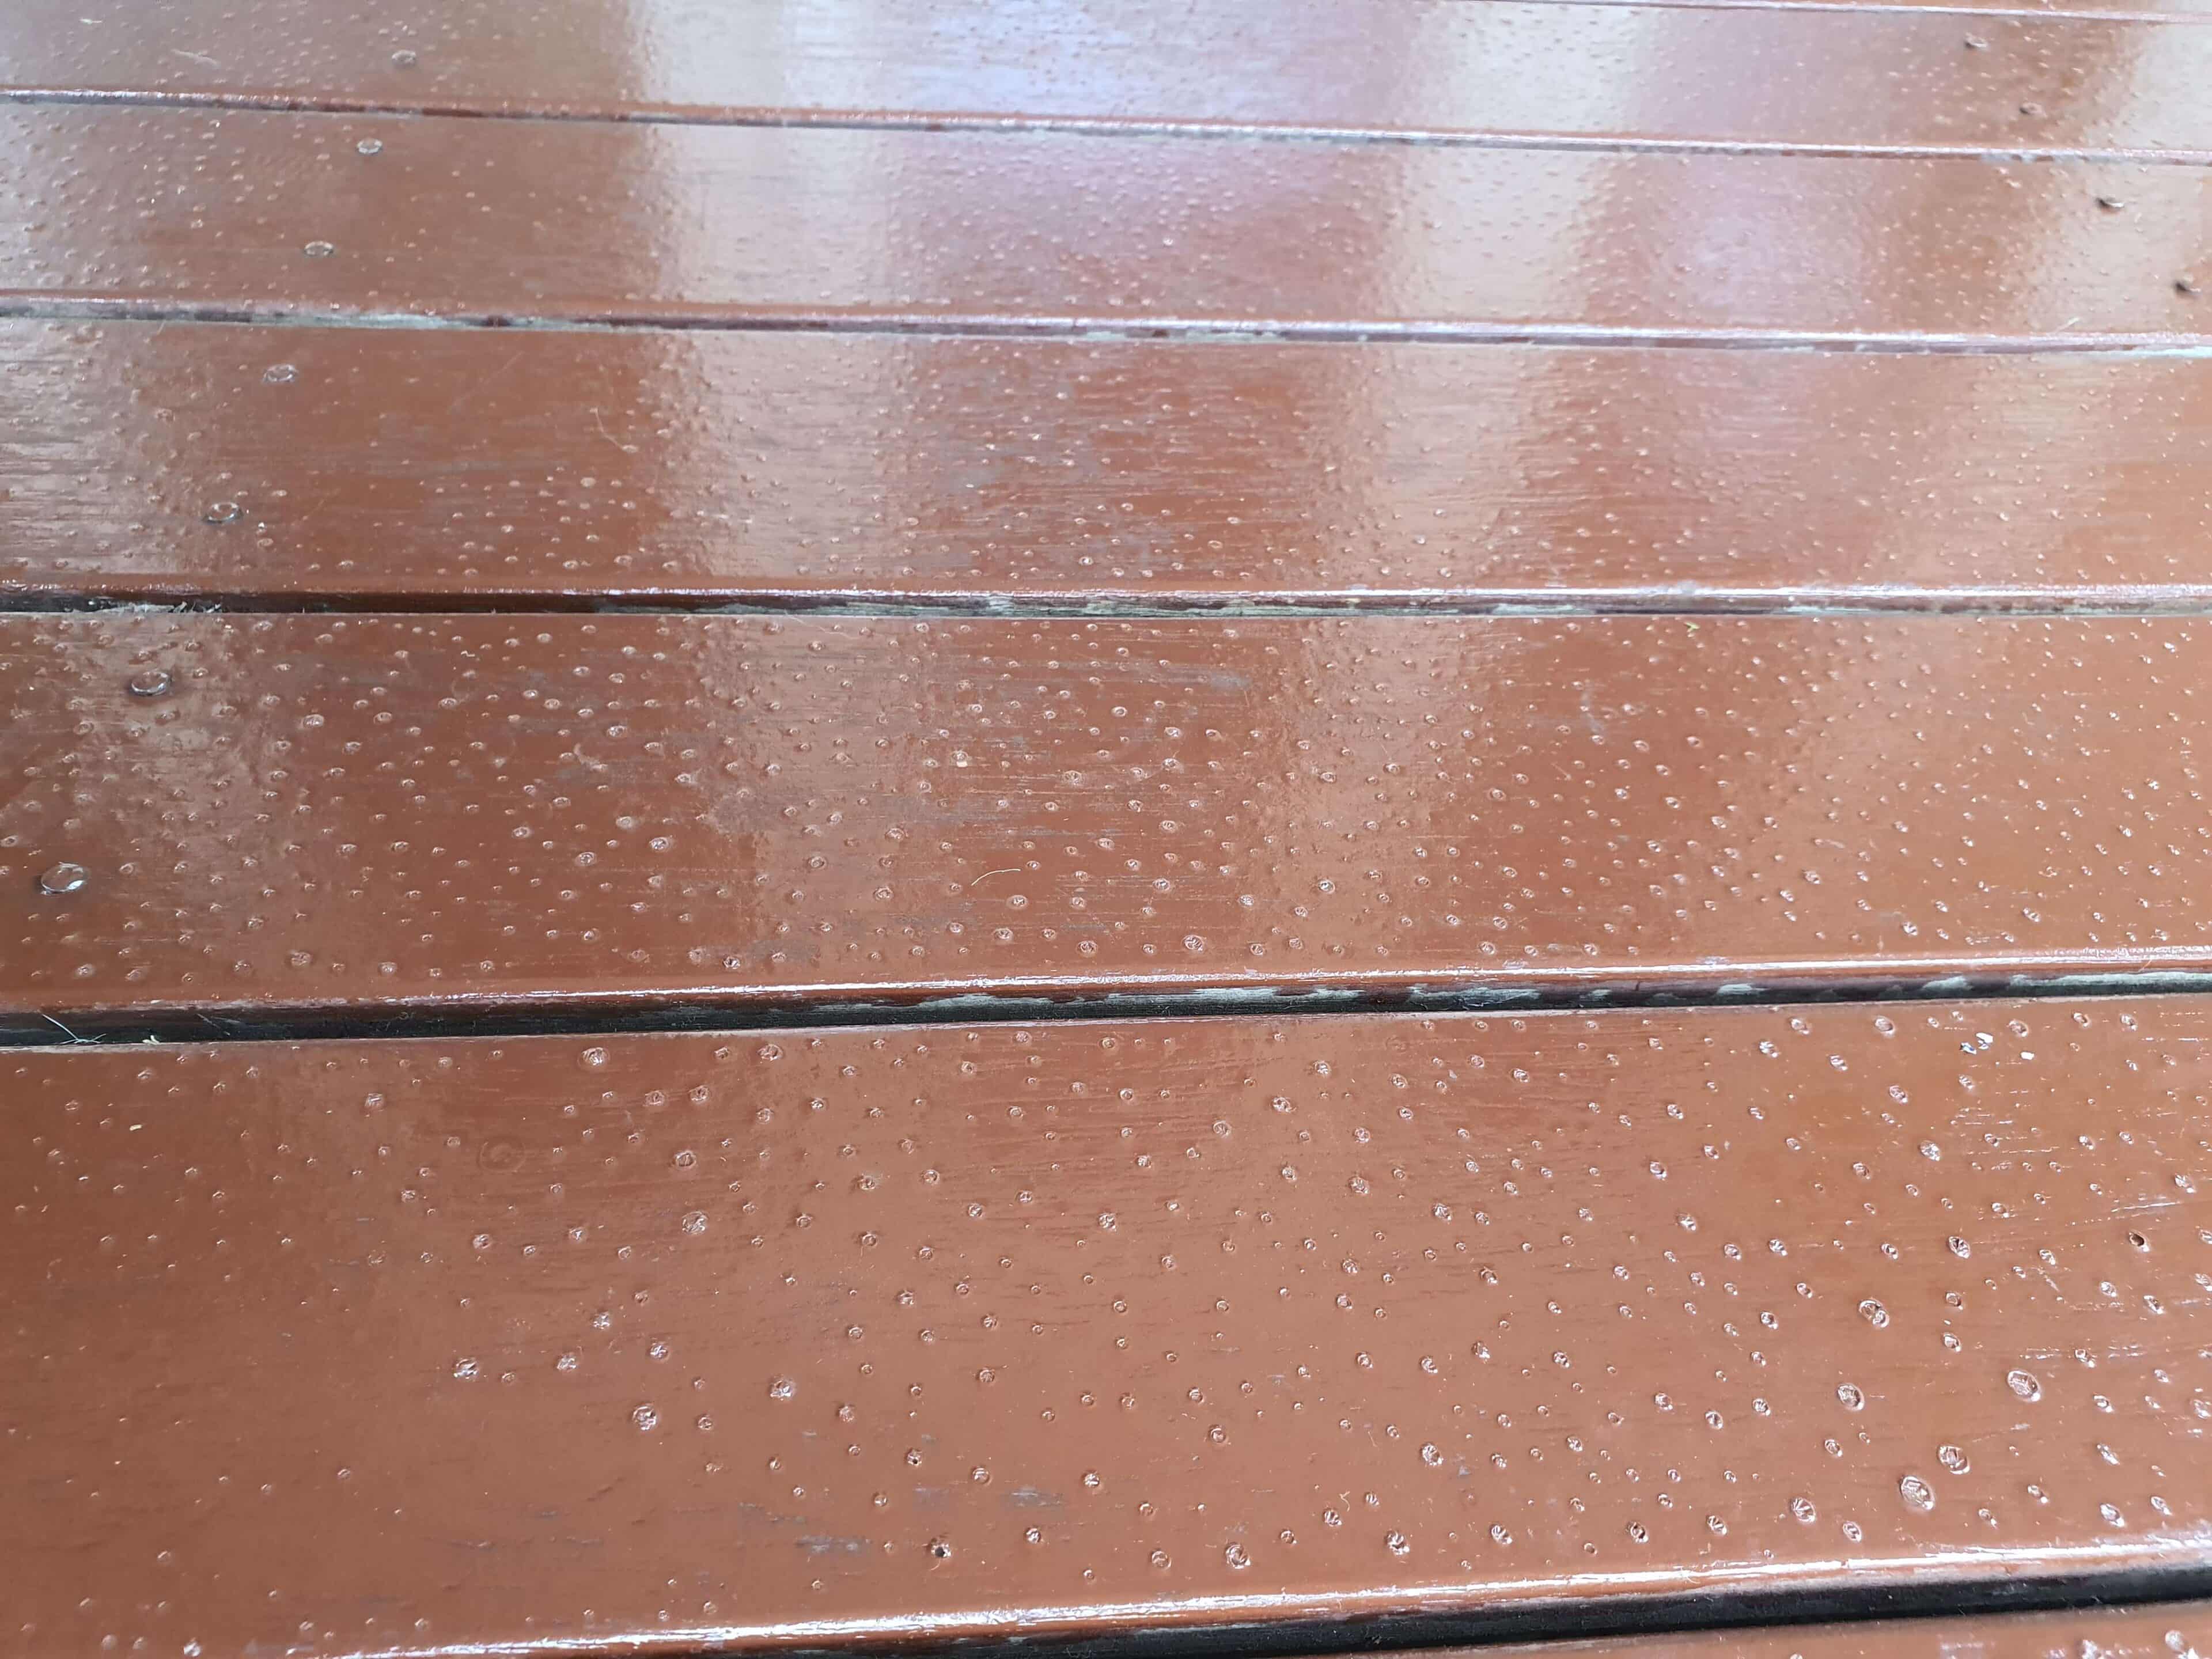
deck with overloaded stain

3. Applying Too Much Stain (Bubbling)

Issue: Overloading the deck with stain can cause bubbles to form, ruining the appearance.

What Not to Do: Don’t apply thick layers of stain, hoping for quicker results.

What to Do Instead: Apply thin, even coats of stain, allowing each coat to dry thoroughly. Follow the product instructions for drying times to avoid issues like bubbling or tackiness.

4. Missing Spots While Staining

Issue: Missed spots lead to uneven colouring and unprotected areas, leaving your deck vulnerable to damage.

What Not to Do: Don’t rush through the staining process or skip corners and edges.

What to Do Instead: Work methodically, checking your progress as you go. Use high-quality stain brushes or pads designed for even application.

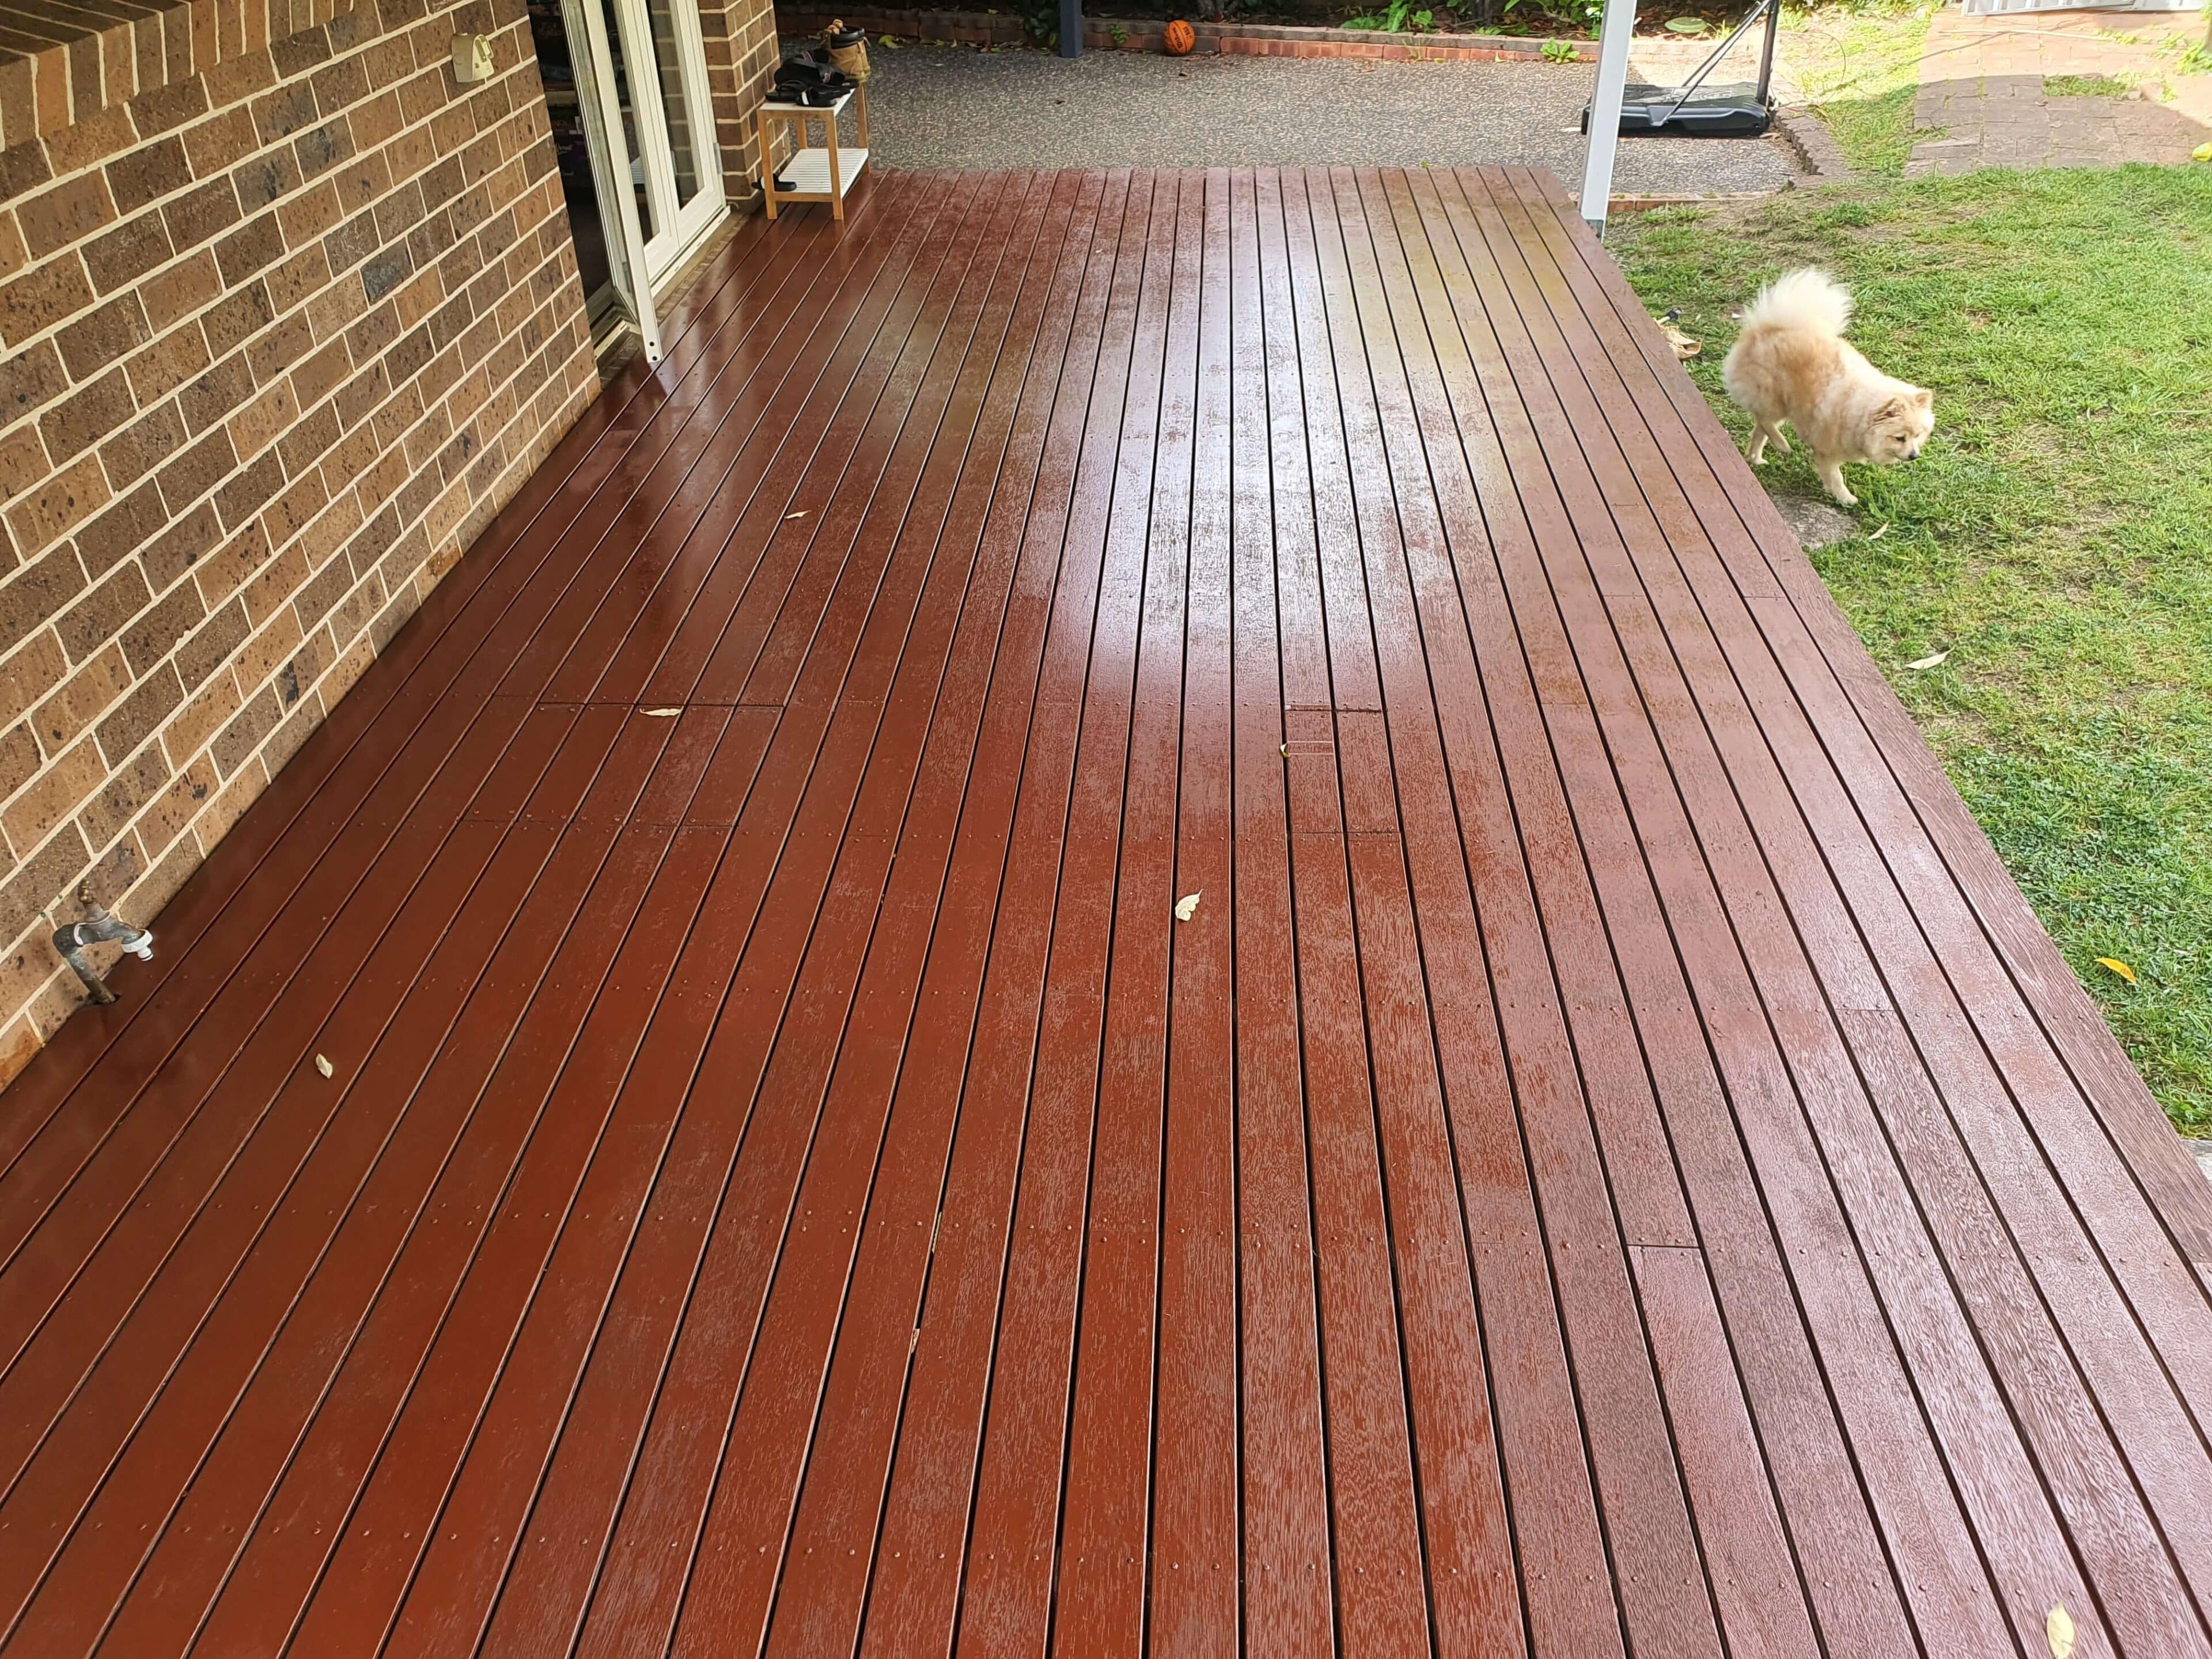
A single coat of stain often provides inadequate protection

5. Only Applying One Coat

Issue: Overloading the deck with stain can cause bubbles to form, ruining the appearance.

What Not to Do: Don’t apply thick layers of stain, hoping for quicker results.

What to Do Instead: Apply thin, even coats of stain, allowing each coat to dry thoroughly. Follow the product instructions for drying times to avoid issues like bubbling or tackiness.

6. Not Waiting Between Coats

Issue: Failing to let the first coat dry can cause bubbling, streaking, or peeling.

What Not to Do: Don’t rush to apply the next coat before the first one is dry.

What to Do Instead: Allow adequate drying time between coats. Check the manufacturer’s guidelines for the recommended wait time.

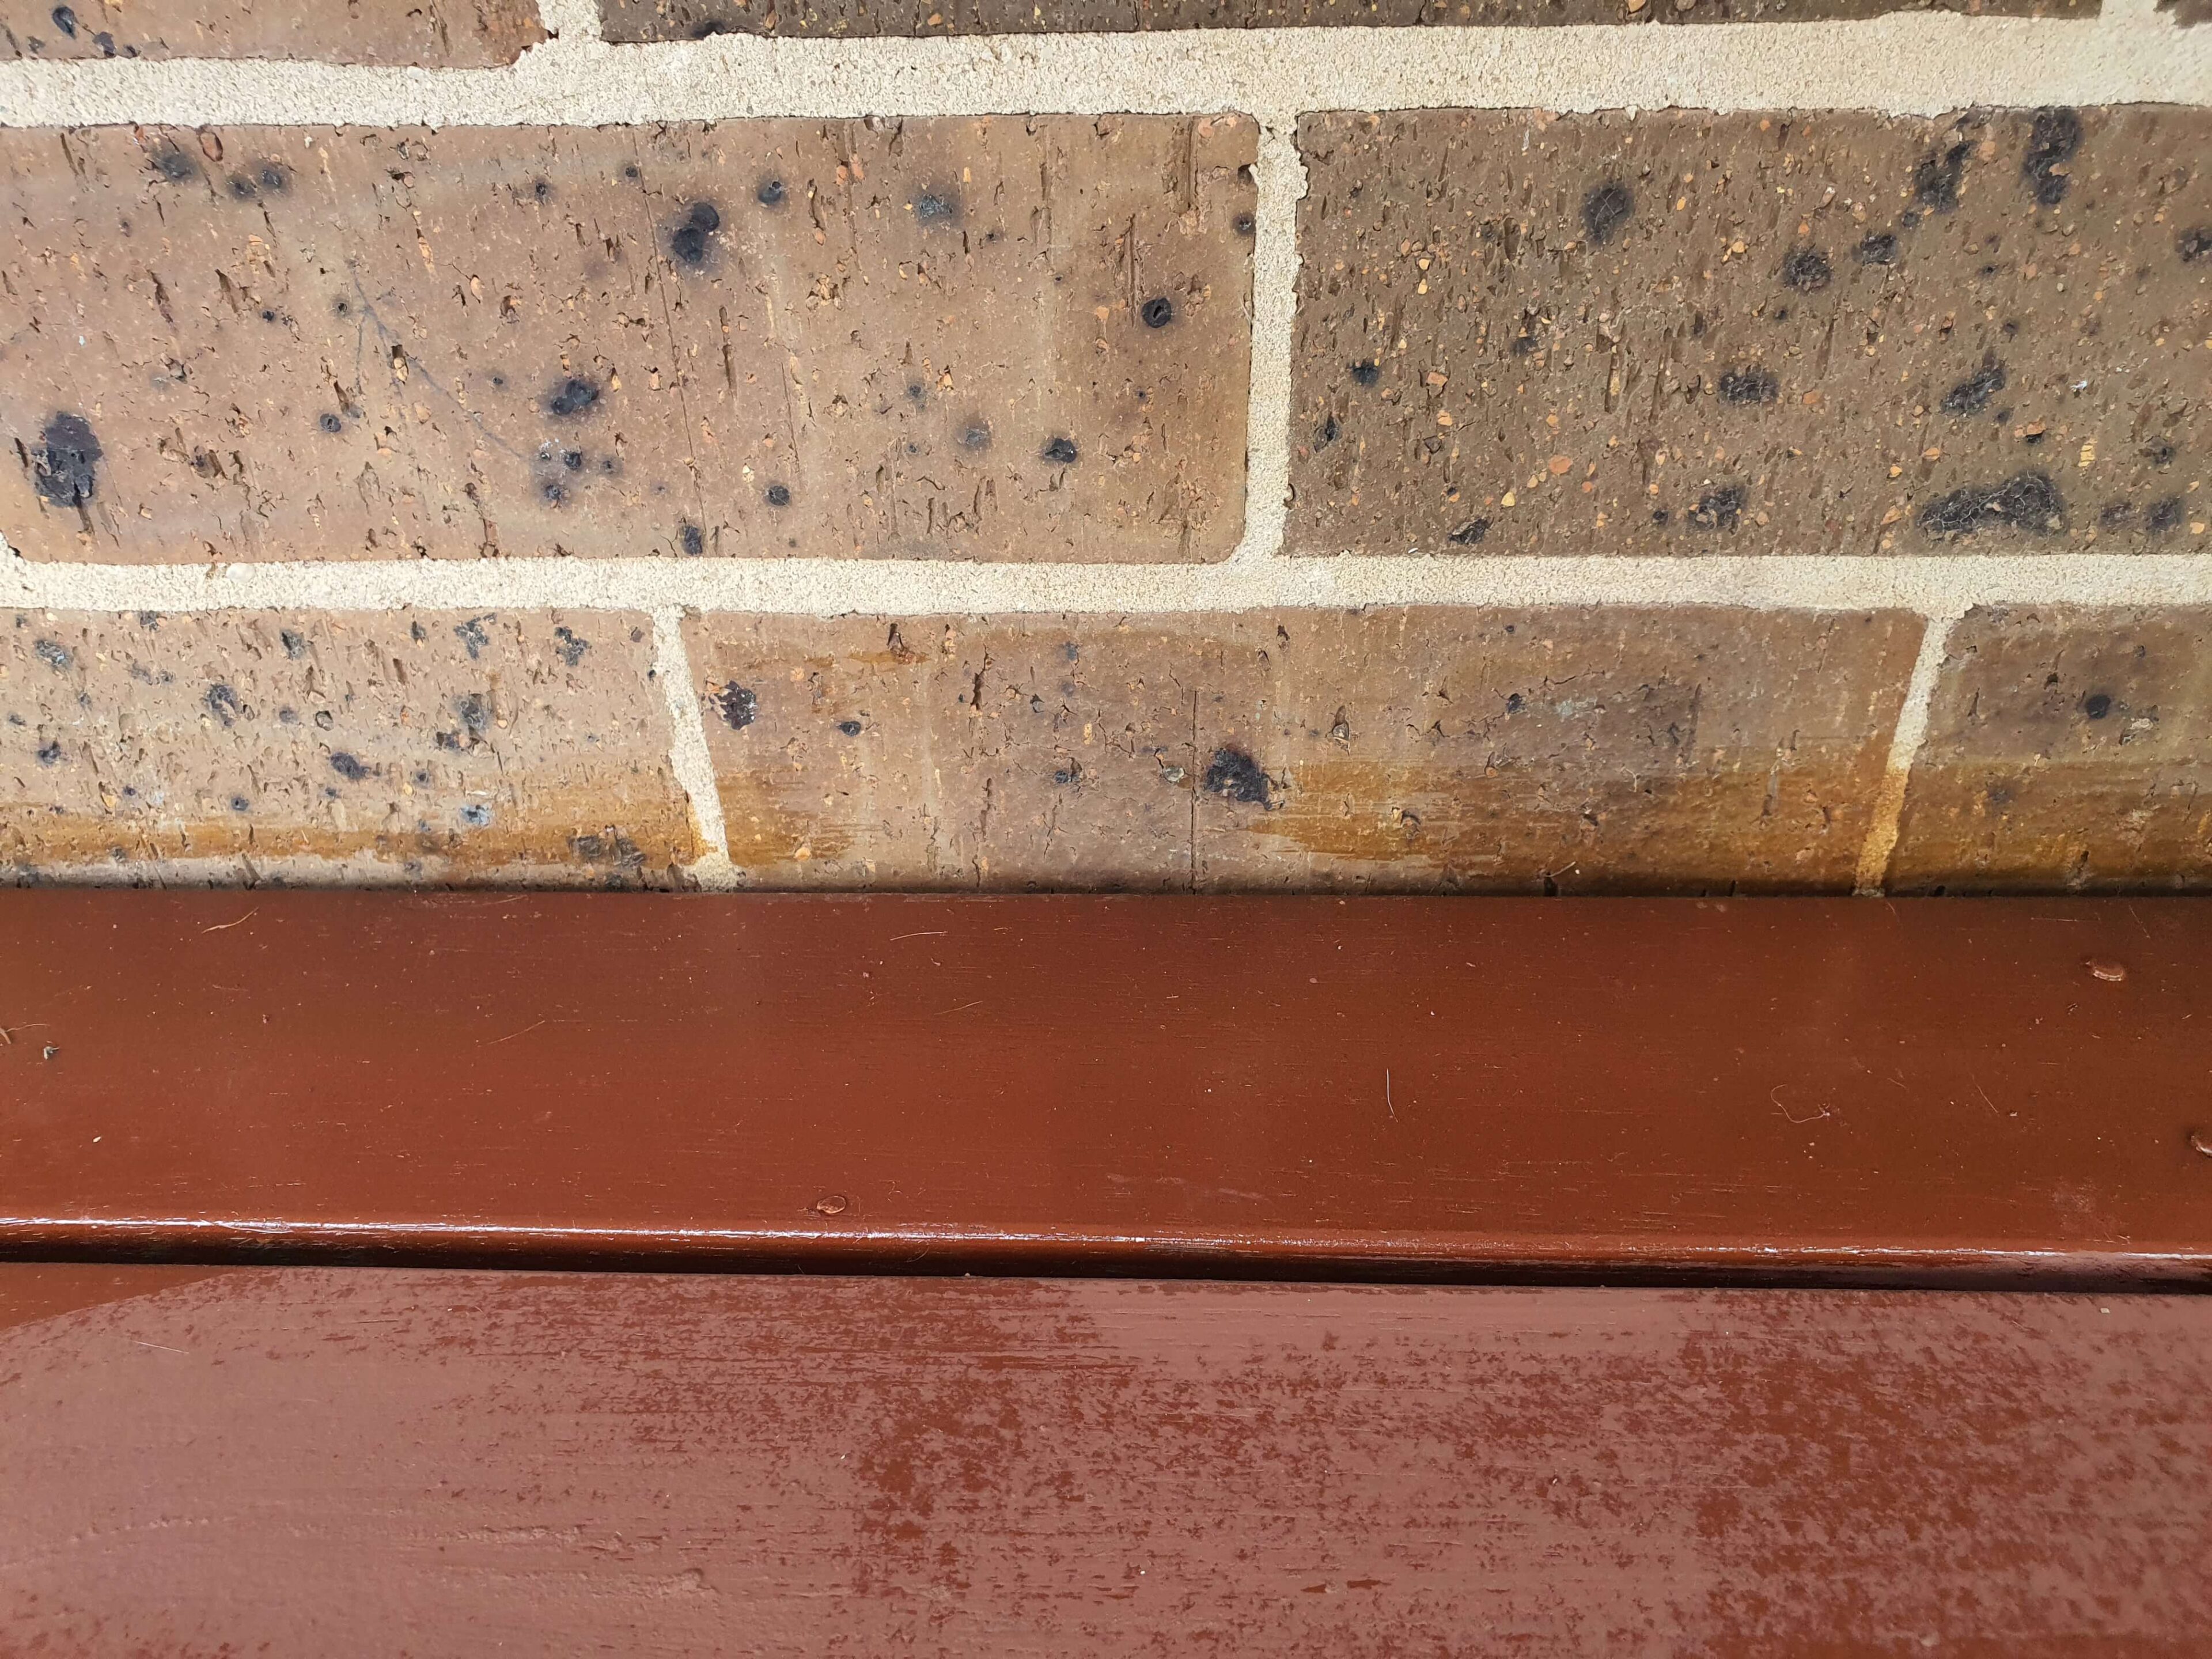
A single coat of stain often provides inadequate protection

7. Splashing Stain on Walls and Other Surfaces

Issue: Careless application can lead to unsightly splashes on walls, railings, or nearby furniture.

What Not to Do: Don’t skip masking or protecting surrounding areas.

What to Do Instead: Use painter’s tape and drop cloths to shield adjacent surfaces. Be cautious during application, especially near edges.


8. Ignoring Damage on Old Decks

Issue: Failing to repair damaged boards or address underlying issues reduces the effectiveness of staining.

What Not to Do: Don’t try to cover up cracks, splinters, or rot with stain alone.

What to Do Instead: Replace damaged boards and sand out splinters before staining. Treat mould or water damage with appropriate products. 

Ready to tackle your deck staining project? Explore our online store for everything you need, including Wattyl’s premium deck stains, cleaners, and more.

Articles you may also like

News 24/01/2025
Pantone's Colour of the Year 2025 - Mocha Mousse!

It's here! Pantone colour of the year 2025 - Mocha Mousse! ...

right arrow
News 21/01/2025
Transformative Teal

Colour of the Year 2026 is TRANSFORMATIVE TEAL, according to WGSN (...

right arrow
News 10/12/2024
The Ultimate Guide To Painting Your House With Wattyl Paint

Painting is one of the most effective ways to refresh ...

right arrow

We are here for you, ask us anything

Leave your enquiry and details below, and we’ll get back to you as soon as possible.