Articles
Your DIY guide to painting a feature wall
09/08/2021
Feature walls are a quick, easy and inexpensive project that will create a lasting impression within a space. Whether you’re looking to create a bright, bold statement, introduce a tonal flow to complement your favourite décor items, or perhaps even update an alcove or fireplace. You could also consider adding a focal point behind a bedhead, shelving unit or delineate a space in an open plan living area that will give your interior the refresh it needs. The options are endless!
Start by selecting your colours, if you need help with building your colour scheme check out this article before you continue
Once you have selected a few different colour options for your feature wall, order A5 colour swatches to see how they work with your main wall colour, flooring, furniture and other large décor items within your space. This will help to narrow down your colour selection further. Order sample pots to test your preferred colour options in the space. Paint a large sample area in two coats and look at the colour at different times throughout the day, and with the lights on and off to visualise how the colour will work in your room.
If you are having trouble deciding, or unsure as to whether the colour suits, reach out to one of our expert colour specialists for a free personalised colour consultation Book now.
Now you have selected your feature colour, what is next?
Step 1
Measure your wall, order your Wattyl I.D Advanced paint and tools from Wattyl Living (dropsheet, tape, brushes, roller, tray and Polyfilla) or your local Wattyl store.
Step 2
Remove any pictures or fixtures from the wall and patch any holes with Polyfilla.
Step 3
Sand patches and then wipe off any dust off the wall and trim.
Step 4
Wash down the walls with sugar soap.
Step 5
Mask off the skirting boards, architraves, power sockets and lay dropsheet on the floor to protect your flooring.
Step 6
Read instructions on the side of the Wattyl
Step 7
Start painting the corners and edges by cutting in with a suitable brush such as the Purdy Brush – Clearcut Dale to create a border.
Step 8
Pour your paint in a tray and use the roller to apply the first coat. Use the roller to blend the wet painted edges so your brushed strip transitions perfectly with the rest of the wall. Use paint roller in a zigzag patter to start with in roughly one metre squares and once you have covered the whole wall, leave to dry for at least 2 hours (depending on temperature).
Step 9
Repeat steps 6 and 7 to apply a second coat and leave to dry for at least 2 hours (depending on temperature).
Step 10
Once paint is fully dry remove the tape.
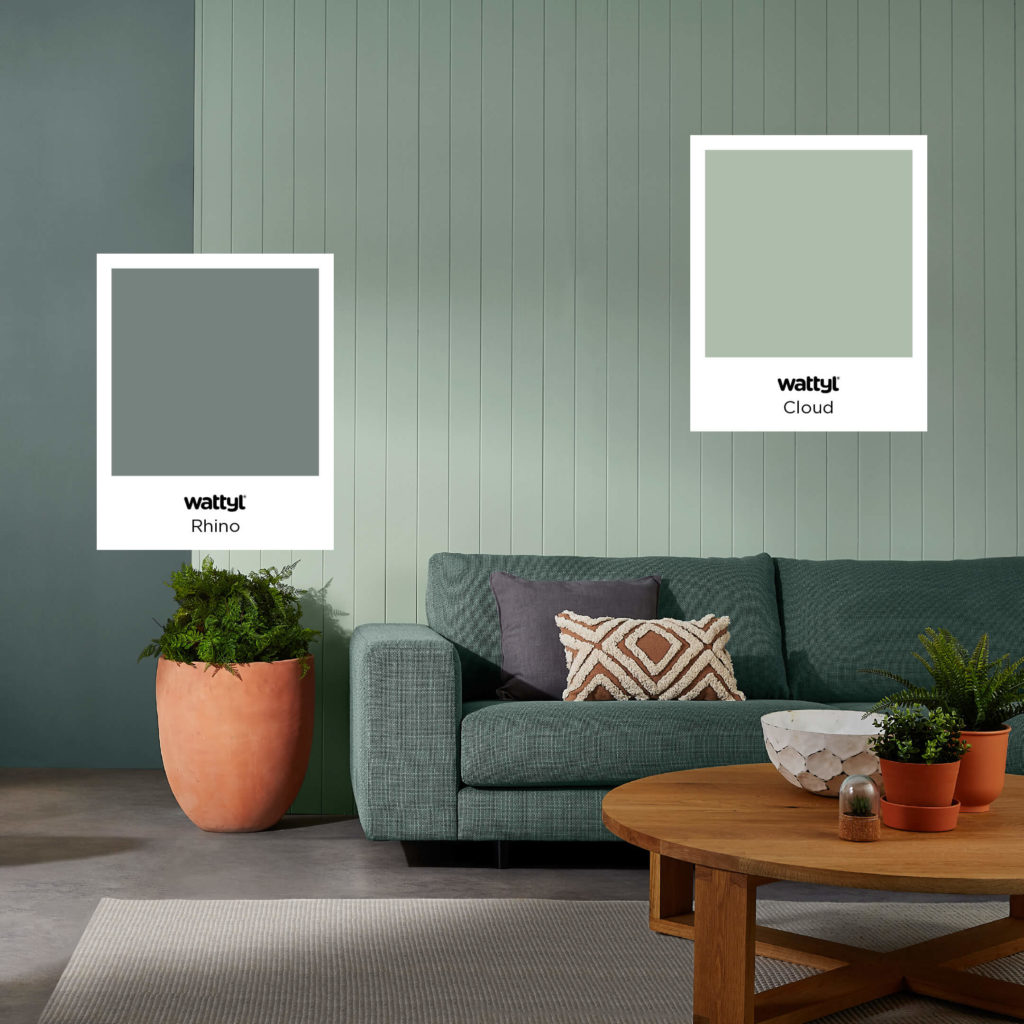
70.70
Rhino 
 CW 107.4
Cloud
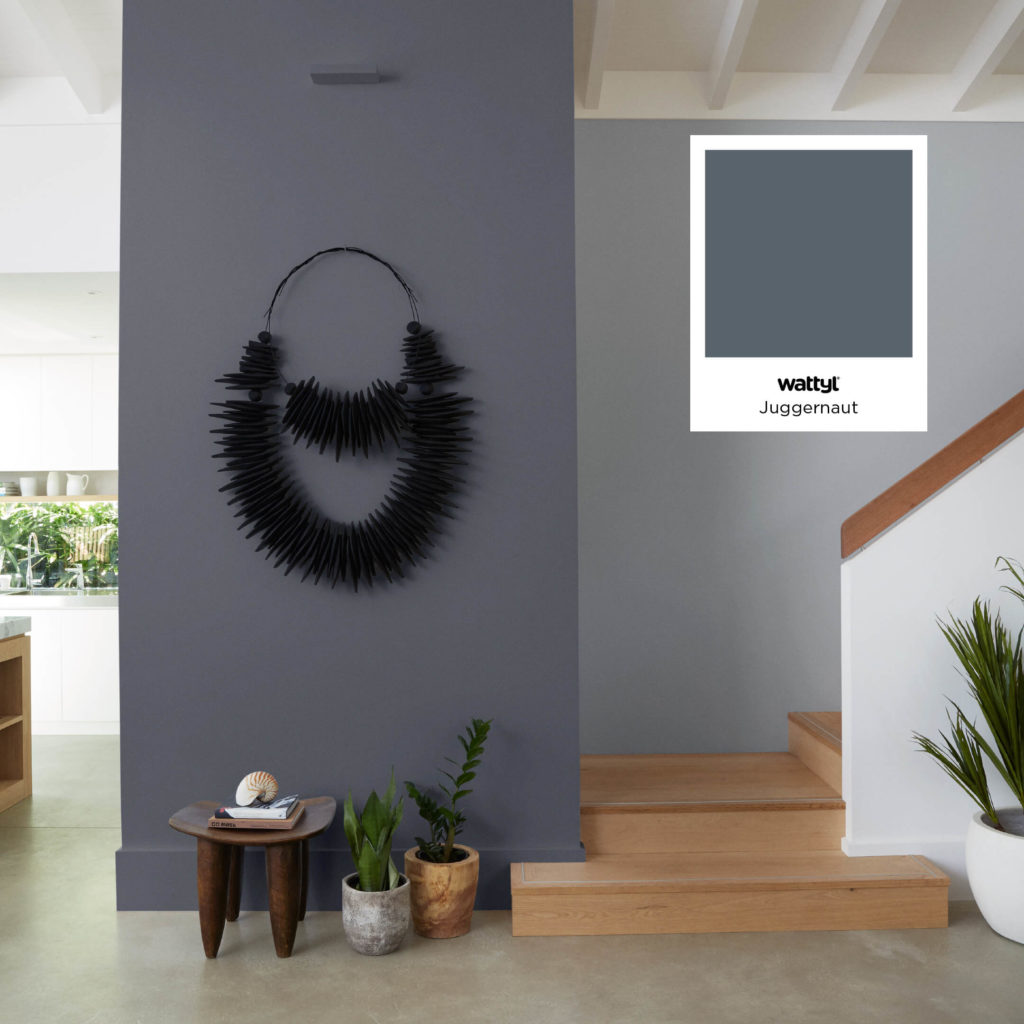 CW 29.6
Juggernaut
Articles you may also like
News
12/06/2024
The Five Most Timeless Colours
In a world where trends come and go, the question ...
News
15/05/2024
Creating a sense of home, and why it won't happen overnight..
The Slow Decor Movement Neale Whitaker Wattyl Brand Ambassador and ...
News
01/05/2024
The Urban Aunt Trend Explained
UNCOVERING THE LATEST TRENDS TO HIT INTERIOR DECOR AND DESIGN ...